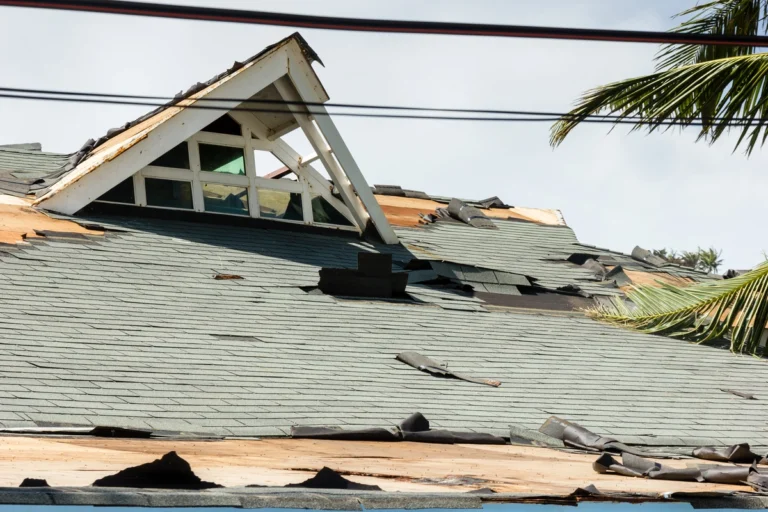
Do you need to replace your roof? We’re here to help you get it done. Be it due to a natural disaster, bad construction, or natural wear and tear—roofs eventually need replacing.
Roof replacement is complex but doable. To get a roof replacement installed safely and securely, here is our step-by-step guide to roof replacement for a long-lasting roof.
1. Find a Roofing Contractor
Yes, we know that you can learn a lot about replacing roofs from Google, YouTube, and Tiktok. However, replacing your roof is not a DIY process for those who lack experience. You need a skilled professional to at least guide you through the process. This is where reputable roofing contractors come in.
When looking for a contractor, do your research and look for someone with good reviews. Take some time and vet them before you agree to work with them. Additionally, the right roofing contractor is:
- Licensed
- Insured
- Professional
- A good communicator
- Helpful
2. Choose Roofing Materials
Before you can begin the actual roof installation process, you need to pick your replacement materials. This allows you to compare measurements and materials.
Choose materials that work with your climate and roof structure. You may also want to consult your HOA to determine if any materials are not allowed in your area.
Decide on your desired aesthetic and budget before you go to pick materials. Consult your contractor to avoid wasting time and money. Here are the most popular options:
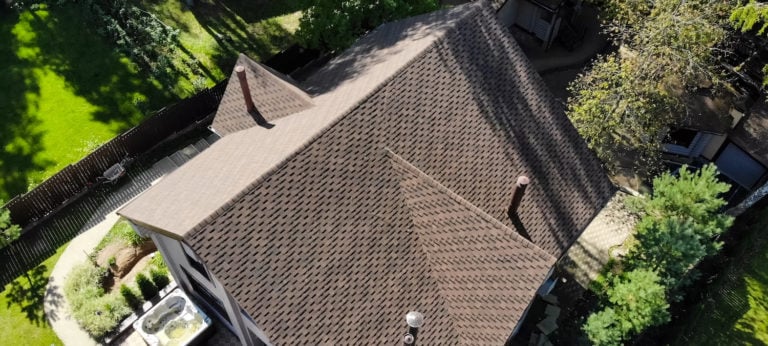
Tile

Clay or ceramic tile roofing is beautiful. It is a popular choice in warmer areas like Florida but is suitable for most climates. Tile is fire retardant and comes in various colors, most typically in shades of red. The downside to tile is that it is heavy and can weigh down your roof. It is better for studier structures like houses made of cement, stone, or metal frames.
Metal
Due to its durability, metal roofing has increased in popularity in the last decade. It is also fire retardant and can be painted in various colors. Metal roofs can be crafted to look like shingles, or you can use full metal sheets. Metal roofs are pricier to install because they last for longer. However, if you choose to use metal, ensure your contractor has the specialization to handle it.
Asphalt Shingles
Shingles are made of a variety of materials, but asphalt shingles are the most popular. This is because they’re affordable, easy to install, and readily available in many places. Because of this, they are considered starter shingles.
Asphalt shingles also come in many colors and shapes, allowing you to customize them to your architectural style. Nonetheless, there are more durable roofing options.
Slate
If you’re looking for a high-end roofing option, consider slate. It’s stunning and makes your home look well-kept and high-end. However, slate roofing is expensive, heavy, and costly to repair.
Composition Slate
If you want the slate look but don’t have the slate budget, composition slate will do the trick. These tiles are synthetic and made from recycled materials, making them lighter than slate. They are also less susceptible to damage, making them cheaper to install and maintain.
Wood Shakes
Wood shake shingles are beautiful and durable. However, they’re on the pricier end. Also, wood shakes are not ideal for areas prone to wildfires.
3. Protect Your Home
Now that you have picked your roofing material, it is time to start the replacement process. You need to adequately protect your home to avoid damage. Move your cars, toys, and outside furniture. Your roofing contractor will also tarp your shrubs and house to prevent damage by roofing debris.
Protecting your home will keep your replacement costs low. You’ll avoid having to replace other items like windows or furniture. You can skip the protection step if you are fully renovating an old home.
4. Tear off the Old Roof

It is now time to take that first step toward a new roof. Remove the old shingles in preparation for a new roof. You can also choose to layer your new roof on your old one. However, you would have to have metal roofing.
Additionally, you’ll need an inspection to determine the safety of the old roof. Your roofing contractor must also install the new layer perfectly to prevent weighing the roof down.
Your old gutters will also get torn off during this process. If you just replaced them, have your contractor carefully take them down so you can reuse them. Remove them and install a new system if your gutters are older. You’ll be able to track the age and status of your roof and gutters for maintenance and future replacements.
5. Inspect the Wood Deck
New shingles are installed on the decking. If your roof has been badly damaged by falling debris or dilapidation, the wood decking will also be stripped off. There is also a chance that most of your wood decking is in working order.
Your contractor will inspect the status of your roof decking to ensure no mold, mildew, or moss. If found in good condition, you’ll save costs and only replace old parts of the deck. However, it is advisable to simply replace the whole deck before you begin installing a new roof. It will make it easier to track the roof’s age.
6. Prepare the Roof Surface
Before installing new roofing material, prepare the surface. First, you’ll install drip-edge, a non-corrosive metal that prevents water from damaging the decking. It is placed on the roof’s edge and prevents water from getting underneath the decking.
Second, your roofing contractor will install the underlayment. It is a water-resistant material that prevents water damage to the roof. It’s placed between the wood decking and the roofing materials.
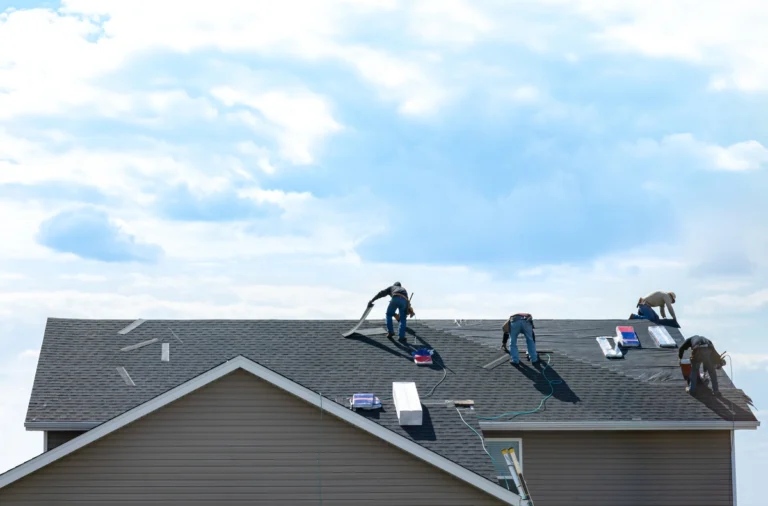
7. Install the New Roofing Materials
You can now get your cut and measured roofing materials and begin the roof installation process. The time taken will depend on your installation method and roofing materials. Installing metal sheets takes a shorter time. Expensive materials such as slate take longer due to their fragile nature. Avoid rushing this process to ensure a secure and stunning finish.
8. Clean Up
Once you are satisfied with your roof replacement, it is time to clean up. Leftover debris will be picked up and taken to the appropriate disposal or recycling suites. Tarp and other protective materials will be removed from around the house.
9. Final Inspection
The final step when you replace a roof is inspection. You can get an inspector to check the work but roofing contractors usually do a thorough inspection. Ensure you check areas prone to leaking. Also, check that all the materials you paid for are accounted for and were used to replace your roof.